Demo2 Project (Barcode, QR Code Reader)
Use iPhone built-in camera as a barcode reader sends the data of a barcode or QR code to a Windows application.
What you will see

We will go over a very simple example in code to show you how your iPhone can use its build-in camera feature to read a barcode or QR code. The barcode or QR code data will be displayed on a Windows application (below).

Launch Demo 2.exe
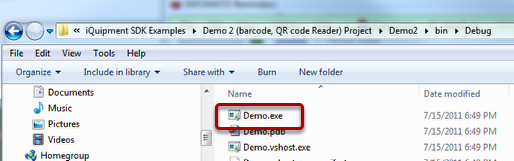
You can find the exe file in the iQuipment SDK Examples folder by going down the sub folder chain of Demo 2 Project > Demo 2 > bin > Debug.
If you encounter an exception saying "...Could not connect to net.tcp://...," make sure no other demo xxx application is already running. Quit the demo xxx application and try again.
Launch iQuipment PC.exe
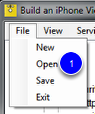
Go to the "Start Menu" (1), "All Programs"(2), "iQuipment PC" folder and click iQuipment PC.exe. After the application is launched, go to the File menu to open (1, above) the Demo2.xml file.
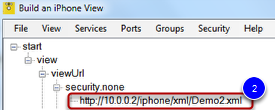
You should see a tree node. Find the security.none node. Jot down the URL (2, below). We will use this URL on your iPhone.
Enter the URL
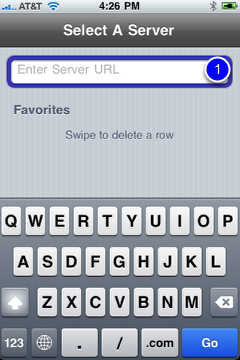
In the text field (1), enter the URL for the iPhone View that you just jotted down. For example: http://10.0.0.2/iPhone/xml/demo2.xml. Tap the "Go" key. If all goes well, you should see a view below. Tap the barcode button (2).
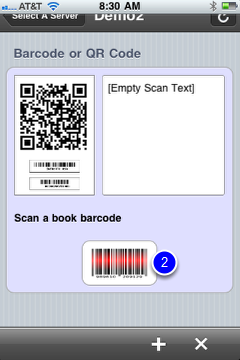

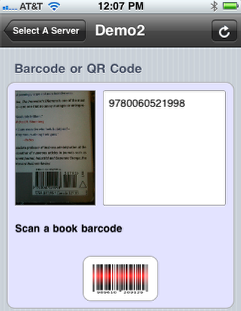
You should enter a camera capture mode. Place the barcode or QR code within the field of view with reasonable lighting. It will automatically try to recognize the code so you do not need to do anything. When the data is extracted, the iPhone will vibrates (if the iPhone is allowed to vibrate, in "Settings", "Sounds", "Vibrate") and return to the view below.
Code highlights
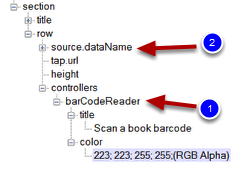
On the iQuipment PC "File" menu, open Demo2.xml file. It contains a "barCodeReader" controller (1, above), which is responsible for the barcode/QR code scanner on the iOS device. When the barCode controller scans a barcode or QR code, it feeds the data string to an exposed varible, as assigned by source.dataName (2, above). If you click on the source.dataName, you will see it links to the exposed variable called "barcodeData." Next, we will show you how the PC side Demo2.exe get this value.
Launch Demo2.Visual Studio project, open Form1.cs file. In it, Demo2 subscribes to an even delegate "INFOMATO.WCF.DataExchangeService.clientSetData_ID_Event." Each time the iOS device scans a barcode/QR code, Demo1 receives an even notification that comes with the scan data. Let's look at the event delegate function:
void DataExchangeService_clientSetData_ID_Event(string clientIP, string viewName, string dataName, object dataValue, long processID)
{
if (dataValue != null && dataValue is string && ((string)dataValue).Length > 0)
{
updatedText=(string)dataValue + "\n\n" + updatedText;
UpdateTextGUIObject(richTextBox1, updatedText); //the incoming thread may not be the GUI thread, call this function takes care of this issue.
}
}
In the line UpdateTextGUIObject(richTextBox1, updatedText);" we append the scan data to the first RichTextBox (textBox_rowArray) text. Since the incoming thread may not be the UI thread, we need to update the UI data through "UpdateTextGUIObject" function.